I backed
the expansion to The 7th Continent even though we had not gotten the base game back to the table since
shortly after I painted up the tiny miniatures. The second curse we played just wasn't very good. It provided no indication of where to go next, so we had no real incentive to go in any particular direction. This killed our motivation, but I still remembered our narrow loss of the first curse as being great fun. I hoped that a little injection from the expansion would give us a little boost.
The
What Goes Up, Must Come Down expansion includes three new characters and a goat. Here they are, all painted up. These are tiny miniatures that I just wanted to be a reasonable tabletop quality. They were brush primed in grey, then given base coats, wash, and highlight.
 |
| Tall guy in front |
 |
| Short guy in front |
The expansion also came with a barge as well as the hot air balloon evoked by the title. Here's the barge:
 |
| Tell them... |
 |
| Large Barge sent ya |
For the hot air balloon, I noticed that there were visible seams in the side, so I filled those with Milliput, primed in grey, and painted it up.
 |
| Hot Air Balloon Basket |
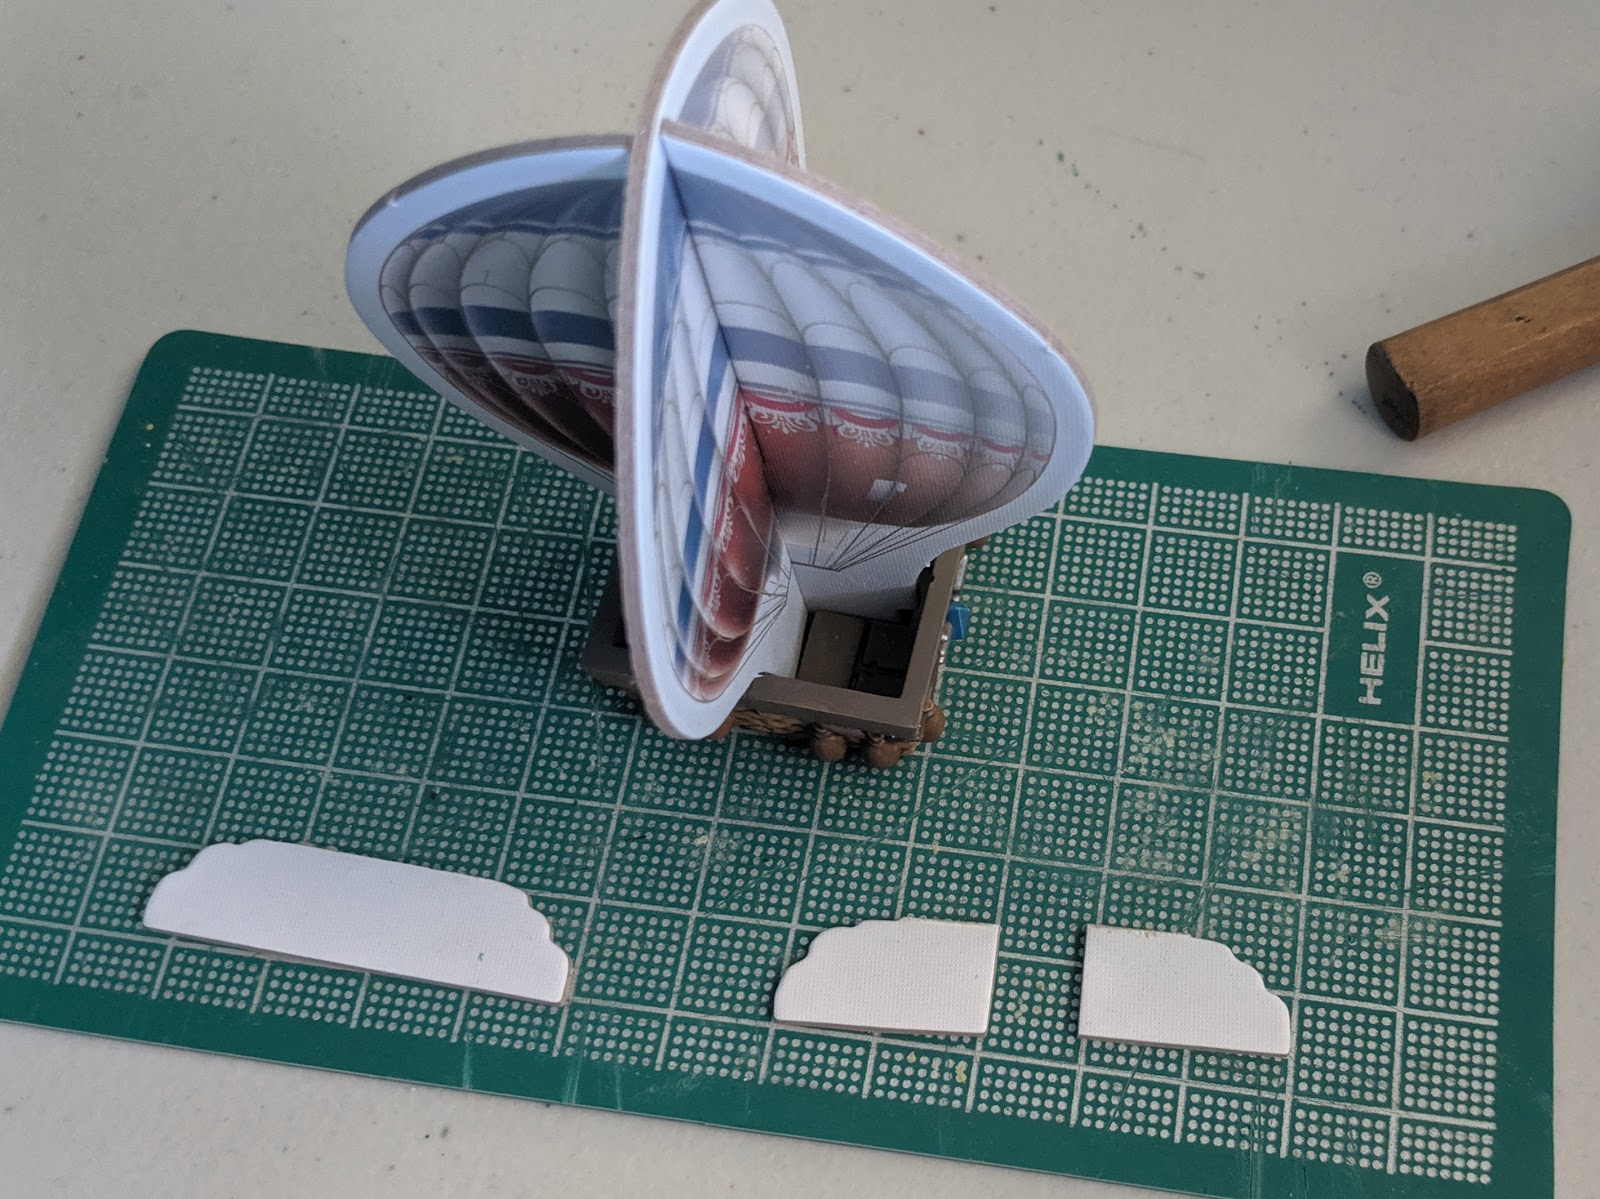
I picked the color of the diamond shape on the front to go with the cardboard balloon that slots into that X. In fact, I was explaining this to my wife when I pulled out the cardboard balloon piece to illustrate the assembly. In my mind, the balloon pieces simply pushed into the X.
 |
| Uh oh. |
Turns out, that's not the case. The basket—which arrived assembled—was supposed to be pulled apart and then snapped together again around the cardboard balloon.
A thread on Board Game Geek mentions instructions in the rulebook that I don't remember seeing, but I probably just blipped over it.
Well, now I was in a pickle. Two options: (a) try to break apart the painted basket, reassemble it around the cardboard balloon as intended, and then patch the paint job; or (b) cut the balloon, stick the basket on, and glue the balloon back together.
 |
| Time for surgery |
 |
| The ol' razor saw |
 |
| The Razor saw did the trick |
 |
| Better dry fit... not like it will make much difference now. |
 |
| Post-Op |
 |
| Studio Pic |
The white glue seems to be holding fine. One of the advantages of making this a permanent fixture is that I could glue the crossbeams together for extra strength. The seam is clearly visibly if you pick up the piece and tilt it, but on the table, it's completely hidden by the basket.
I thought it would be fun to tell the story of my error and repair in pictures, and maybe it will be useful should any other zealous painter also neglect to dry fit before painting.
I look forward to getting the game back to the table. I came across
the designers' recommendations for quest order, and it's been long enough since our last run—and my wife and I will add a son or two to the team—so I think we'll start back at the beginning.
Thanks for reading, and happy exploring!


No comments:
Post a Comment